Showing posts with label chocolate. Show all posts

Wednesday, March 5, 2014

Chocolate Coconut Donuts

I've made this donuts before as just plain old chocolate donuts. They're really good normally but I wanted to kick up the flavor some. We had some leftover coconut milk from another recipe so I decided to throw it in. 

These donuts made it a whole 24 hours on our counter top before they were gone.  There's not a single crumb left and I'm already getting requests to make them again!

I was able to find a donut pan at our local Goodwill store.  It makes 6 donuts and that's what the recipe will make.  I might have to invest in a larger donut pan so that I can make more of these at a time without spending my entire afternoon in the kitchen!


Chocolate Coconut Donuts


Ingredients for donuts:

1 cup of all purpose flour
1/2 cup of sugar
1/4 cup of cocoa powder
1/4 cup of chocolate chips
1/2 teaspoon of baking soda
1/2 teaspoon of vanilla
1 egg
1/2 cup of coconut milk
1/4 cup of melted coconut oil

glaze:
1 1/2 cups of powdered sugar
1/4 cup of coconut milk
2 tablespoons of flaked coconut

Directions:

Heat oven to 375 degrees
Mix flour, sugar, cocoa powder and baking soda in bowl
In second bowl beat vanilla, egg, coconut milk and oil
Combine both bowls into one and mix until well combined
Spray donut pan with non-stick cooking spray
Spoon into donut pan, will make 6 donuts
Bake 9 minutes, use a toothpick to test to be sure they are done at this point

While donuts are baking beat sugar and coconut milk together in bowl.
Glaze will be think.
Once you remove donuts from pan spread glaze over warm donuts and sprinkle with flaked coconut.

Enjoy!


Saturday, February 8, 2014

Healthier Brownies

I found this recipe on Pinterest for 65 Calorie Whole Wheat Pumpkin Brownies and thought I make a few changes to it. We don't use Stevia and the original recipes does. I'm always trying to find a good "treat" for us especially if it involves chocoalte and the word "healthy"!

 It was a huge success, both girls loved these brownies!  You can serve them straight out of the oven or store them in the fridge and eat them cold.  They actually seem to be better out of the fridge cold!  I also couldn't taste any hint of pumpkin in these at all.

Healthier Brownies


Ingredients:
3 eggs
1 1/2 teaspoons of maple syrup (I only used this because I ran out of vanilla)
1/2 cup of cocoa powder
1/3 cup of hot water
1 cup of whole wheat flour
6 ounces of plain greek yogurt
1 cup of pumpkin puree
3/4 cup of honey
1 teaspoon of baking soda
1/4 cup of dark chocolate chips (if you leave these out the brownies will be sugar free!)

Directions:
1. Pre-heat oven to 350 degrees.
2. With mixer beat eggs, syrup, yogurt and pumpkin until well combined.
3. Add in honey and mix, set aside.
4. In a small seperate bowl mix cocoa and water together until they look like frosting.  If the mixature is too dry add a little more water.
5. Add the cocoa mixture, baking soad and flour together with everything else you set aside.
6. Stir in chocolate chips, save a few to sprinkle over top the brownies.
7. Grease a 8 X 8 pan (we used coconut oil spray).
8. Pour in batter and sprinkle a few chocolate chips on top.
9. Bake 35 minutes or until a toothpick comes out clean from the center of brownies.

Enjoy!!


As you can see these are very thick, cake-like brownies!  


Saturday, January 25, 2014

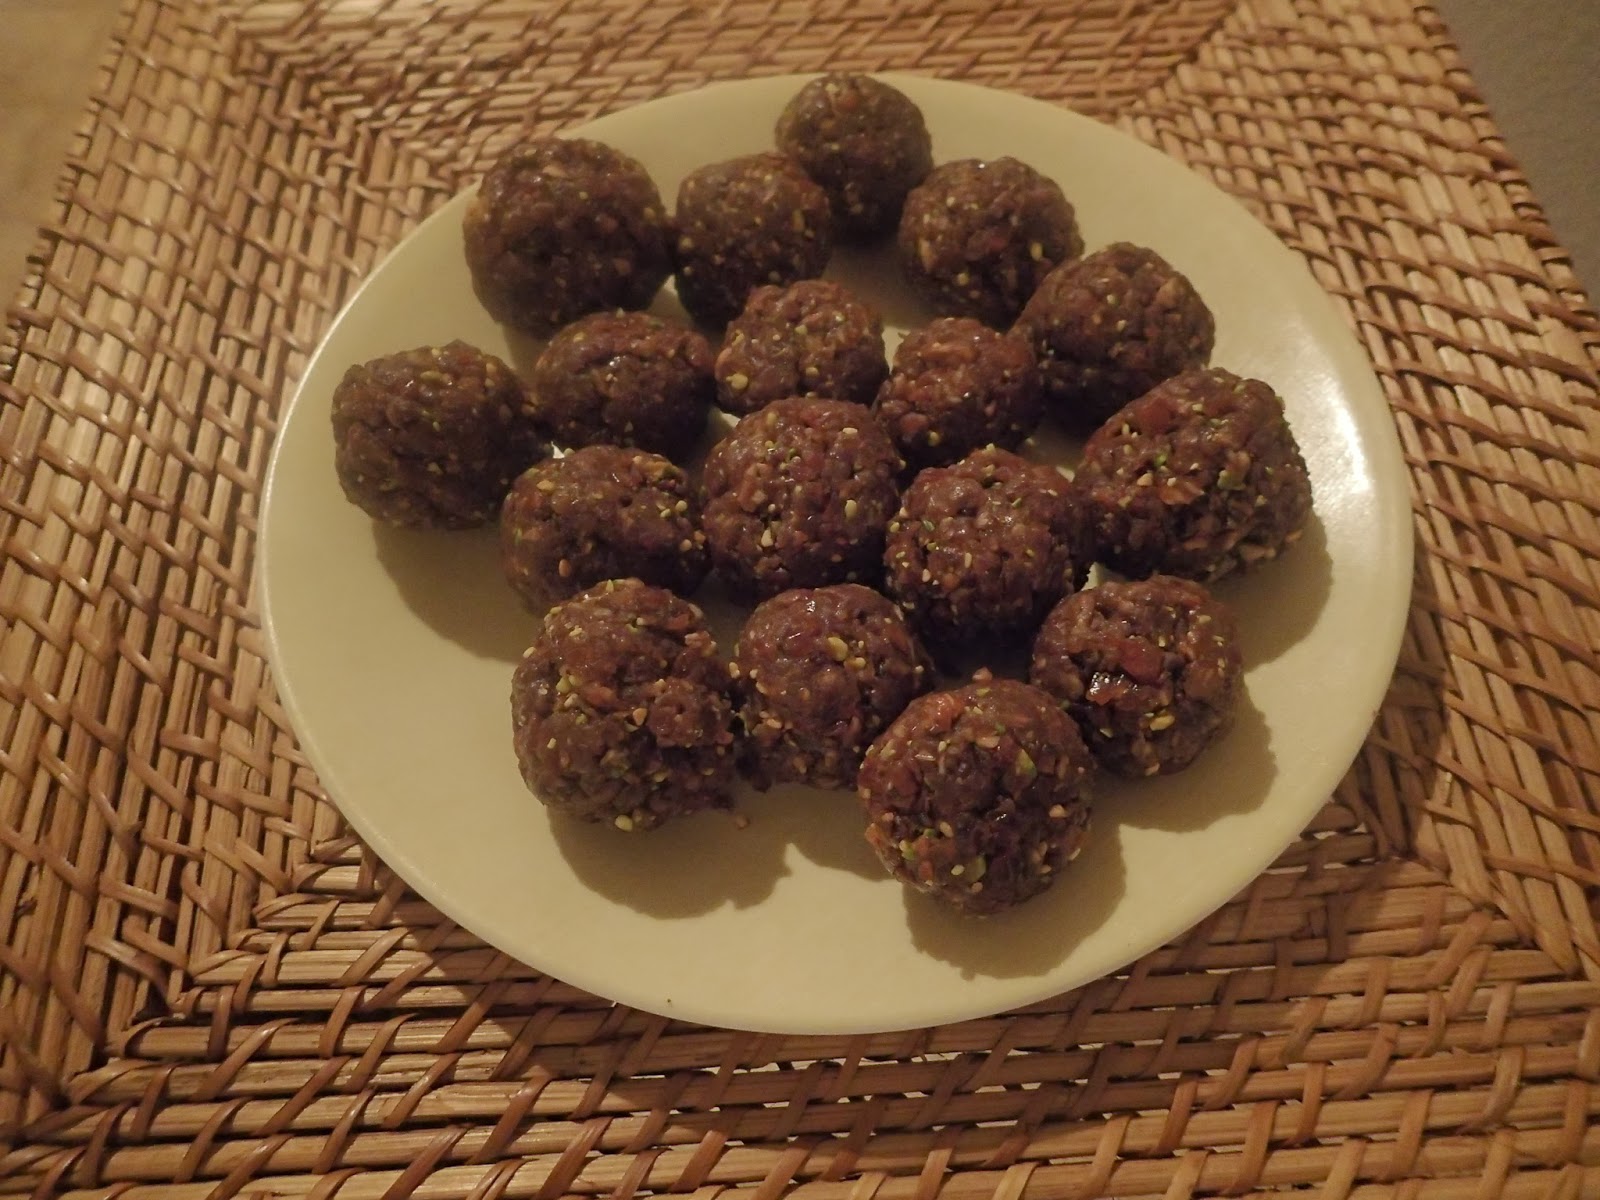
Chocolate Pistachio Date Balls

The girls used to love to eat LaraBars. The only problem was that I didn't like having to pay sometimes close to $1.50 per bar, especially when the girls would each want their own! We've played around a lot with different combinations but this one is one of our new favorites. Instead of making the date mixture into a "bar" shape we just roll into balls which makes them perfect for little hands to hold and eat up!

Everything you need:

Pistachios and chocolate chips:

Make sure you can form a ball out of the dates:


Chocolate Pitaschio Date Balls

Ingredients:

2 1/2 cups of dates, pitted
1/2 cup of pistachios, with shells removed
1/4 cup of chocolate chips

Directions:

1. Put pistachios and chocolate chips in food processor and mixed about 30 seconds until crushed
2. Add dates to food processor and mix until crumbly and well mixed.  Test to be sure dates can be rolled into a ball before removing mix.
3. Roll into balls, we were able to make 18 total out of these measurements.
4. Store tightly covered in fridge.  The date balls will last longer if you wrap them individually in plastic wrap but if you plan on eating the bunch within 3 days a container will be fine.

Wednesday, January 15, 2014

Chocolate Banana Muffins

On the weekends I like to make batches of muffins so that the girls can have them for breakfast in the mornings while I'm at work.  I freeze the batches in our deep freezer, the night before I pack them a little breakfast/lunch in a container and keep it in the fridge.  Overnight the muffins thaw so that they're perfect and ready to eat in the morning.

This is one of their favorite muffins, which is easy to see because of the chocolate chips in them.  Who wouldn't want to have chocolate chips for breakfast?

Everything we used to make the muffins.


Butter and brown sugar.


Wet, dry and bananas.


All mixed together.


Ready for the oven.


All done!


Chocolate Banana Muffins


What you'll need:

1/2 cup of unsalted butter, room temperature
1/4 cup of brown sugar
1/2 cup of unsweetened applesauce
2 eggs
1 teaspoon of vanilla
3 very ripe bananas, mashed
2 cups of white whole wheat flour
1/4 cup of cocoa powder
1 teaspoon of baking soda
1/4 teaspoon of salt
1 cup of dark or semisweet chocolate chips

Directions:

Preheat oven to 350 degrees.
Line 12 cup muffin pan with paper liners or spray with non-stick spray.
In a large bowl using a mixture cream together butter and brown sugar until fluffy.
Add applesauce and mix until combined.
Add each egg one at a time making sure it's fully mixed.
Add vanilla and mashed bananas.
In a medium bowl mix together with a spoon the flour, cocoa powder, baking soda and salt.
Add the dry ingredients to the wet ingredients, mix until combined.
Stir in chocolate chips.
Bake for 22 minutes.  Make sure muffins are fully baked by putting a toothpick into the center of the largest muffin in your pan.  Once it comes out clean the muffins are baked.
Cool for 10 minutes in the pan and then remove to fully cool on counter.
Once fully cool you can either serve or put muffins into a freezer safe bag and keep in freezer for up to 3 months.


Saturday, January 11, 2014

The Most Perfect Chocolate Chip Cookie Ever

In our opinon, and some other people who have tried it, this is the most perfect chocolate chip cookier ever!

I adapted this recipe from a recipe I found on Pinterest.  It was called the Copycat Panera Chewy Chocolate Chip Cookie recipe from The Pinning Mama.

I made a few changes and these cookies turned out great.  Plus I had a helper to make these cookies with (these are OLD pictures, I made this cookies sometime last summer).

My helper.


Everything you'll need.

Mixing the batter.


1/4 cup scoop of a cookie.


Ready to go into the freezer!


Love having a deep freezer.  Makes making cookies easier!


Fresh out of the oven.


 What you need:

1 cup of butter, melted
1/2 cup of coconut butter, room temperature
1 1/2 cups of dark brown sugar
1/2 cup of granulated sugar
2 large eggs
4 teaspoons of vanilla
2 1/3 cup of all purpose flour
2 cups of white whole wheat flour
2 tablespoons of cornstarch
2 teaspoons of baking soda
1 teaspoon of salt
1 bag of mini semi-sweet chocolate chips

Directions:

1. Line 2 baking sheets with parchment paper.
2. In a large bowl beat on low with a mixer butter, coconut oil and sugars.
3. Add eggs and vanilla and continue to beat on low.
4. Next add cornstarch, baking soda and salt and mix.
5. Add in 1 1/3 cup of all purpose flour until combined.
6. Follow with 1 more cup of all purpose flour.
7. Next add in just 1 cup of white whole wheat flour until completely incorporated.
8. Last add 1 more cup of white whole wheat flour.  Dough will be thick but keep mixer on low speed.
9. Stir in the bag of mini chocolate chips.
10. Using 1/4 cup measure scoop out dough onto baking sheet, set each cookie about 1-1 1/2 inches apart.
11. Place dough on the baking sheets in freezer for 2 hours (dough can also be stored in freezer bag for up to 3 months).
12. Pre-heat oven to 350 degrees and make cookies for 15 minutes straight out of the freezer.
13. Let cool at least 10 minutes before enjoying as cookies continue to firm up and bake after being removed from oven.

These turn out to be huge cookies!


Since last summer we've started using a 2 tablespoon measuring spoon to measure out our cookies.  Use a 2 tablespoons of dough to make smaller cookies if you don't want your cookies to be so big.